Help Topics
- EaseSuite
- Frequently Asked Questions / Troubleshooting
- General Application Features
- Stock Control and Replenishment
- Accounts Package Integration
- Quick Start Guides
- Mobile Guides
- Word Templates & Print Outs
- Concepts
- Hardware
- Workflow Case Studies
- Terminology
- Submitting Help Requests
- Feature Requests
- Web Shop Preparation Guide
Word Template Design Tips
This is our inhouse tip sheet that offers tips and advice on getting around some common annoyances we've came across. We are by no means Word experts, but some of these may help.
- Nested tables
- Split Tables/Cells and Merging
- Table Resize/growth awkwardness
- Make cells have no padding
- Right justify table content
- Borders and shading
- Troublesome space
- Tabbing within a table
- Placeholder too big and stretches out column width
- Table vertical justification
- Repeat Table Heading Per Page
- Tables, edge-to-edge layout (i.e. labels)
- Image/logo dimensions
- Ensuring barcode doesn't run off page
- Format spill
- Keeping together a section on page
- Windowed envelope dimensions
1. Nested tables
Use tables for laying out columns/rows into a grid like format.
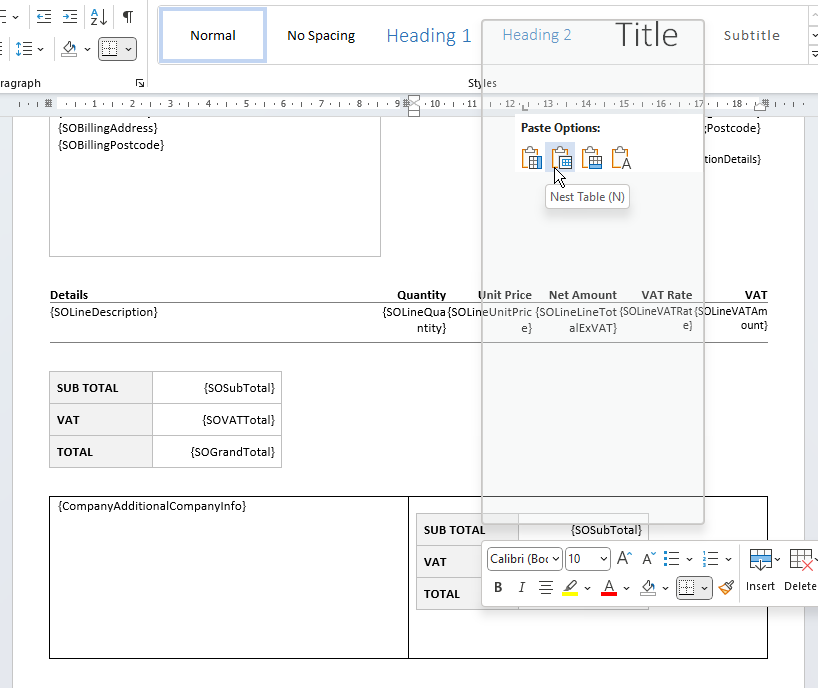
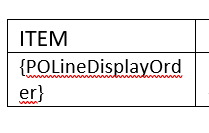
Below for example a table with 2 columns has been created for layout purposes, and in the right column a nested table (table within a table) has been placed within for further layout out.
Paste one table inside another by selecting all its rows, copy, then using the right click Paste Options > Nest Table to insert inside (otherwise the default is to try and join them and that can be a bit disasterous). Note our line injection routine needs the line table below separate from other tables to duplicate the rows correctly.
2. Split Tables/Cells and Merging
Split tables under the Layout ribbon page area is very useful for splitting tables when you are in a row, since most layouts tend to be table based.
3. Table Resize/growth awkwardness
If you insert a column it can push others off the screen and dragging the line between leaves it out there and unseen.
Tip: shift click and drag line will pull it in again.
4. Make cells have no padding
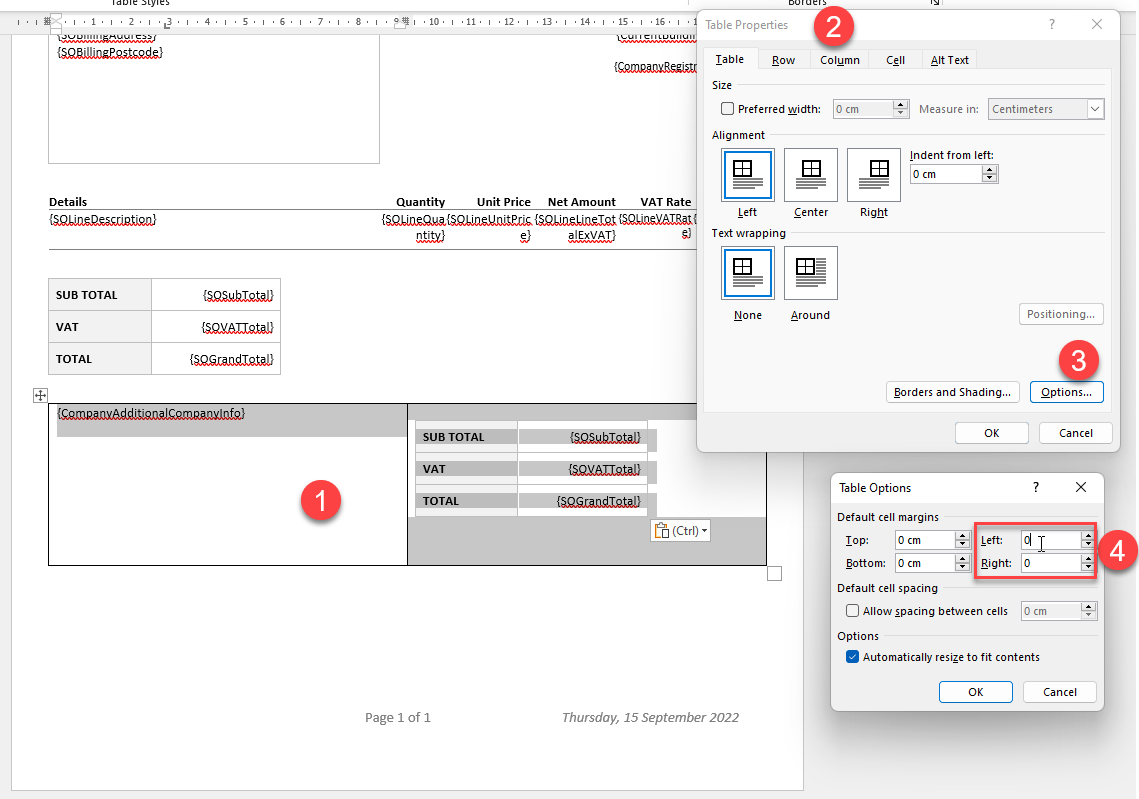
1. Highlighting cells in table per below
2. Table Properties
3. Options
4. Type 0 into the all margin boxes.
5. Right justify table content
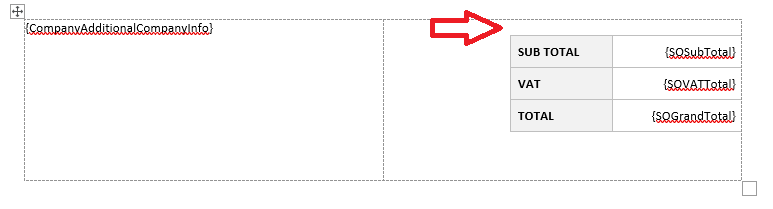
Per above, if you highlight table and click right justification (perhaps the the obvious thing to do), it applies justification it to the nested table and doesn't move it right. To actually align to the right, right click table, Table Properties and choose Right under alignment in first tab.

6. Borders and shading
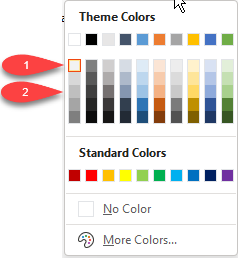
The easiest is to use the Table Desgin tab and a combination of using border styles (when in a cell) or the border painter.
We usually use the first colour for background shade and 2nd (3rd one down for border).
When table borders are not shown, it can be hard to decipher layout. Use Layout > View Gridlines per below to toggle them on/off.

7. Troublesome space
Also see cell padding tip above.
Here Word can have an invisible caret. Click the space top right and press Delete key to pull up so that the nested table goes to the top.
8. Tabbing within a table
Useful for laying out without creating another table.
Pressing CTRL+TAB will tab in the cell vs TAB, which moves to the next cell when in a table (not what we want).
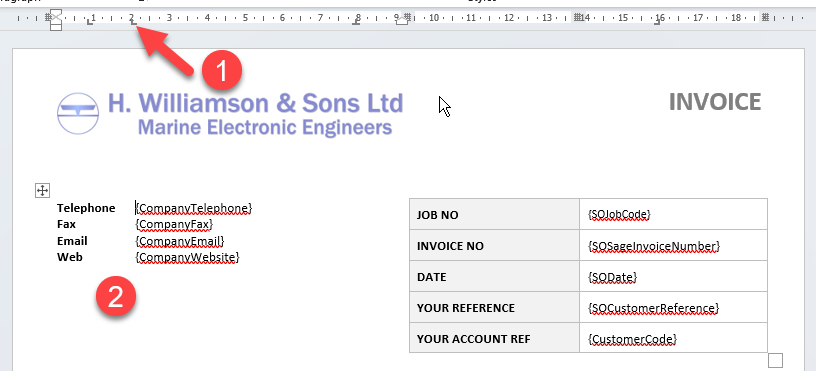
Per below, manipulate the tab position on the ruler (1) to pull things closer (2). Tick the ruler in View main tab to show it.
9. Placeholder too big and stretches out column width
The solution here is to select all cells in the table > right click > Table Properties > Cell and untick Preferred width. This will let you freely size cells and narrow. Also note in Table Properties > Options, Automatically resize to fit contents should be off.
If problems occur select all cells and click Clear All Formatting can help reset (ribbon Home > Font group, icon top right).
10. Table vertical justification
Go to Layout on ribbon bar, select cell and use the alignment section.
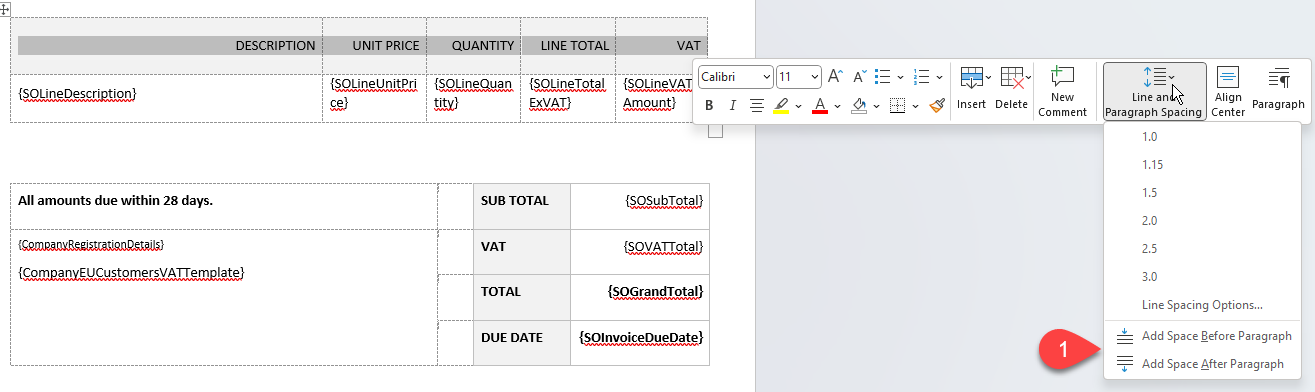
Text not aligning? Try Height in the layout tab, if the text comes down (when vertical aligned) but there is gap underneath, then there is paragaph space preventing the lining up. Select the text, in the floating toolbar go to line spacing and at btottom Remove Space Before/After Paragraph to get the centre working.
11. Repeat Table Heading Per Page

Select the table heading, right click > Table Properties, Row tab, then choose Repeat as header row at the top of each page.
If this still does not work, Select the heading row and make sure that under Table Properties, Table Tab, Text Wrapping is set to None.
12. Tables, edge-to-edge layout (i.e. labels)
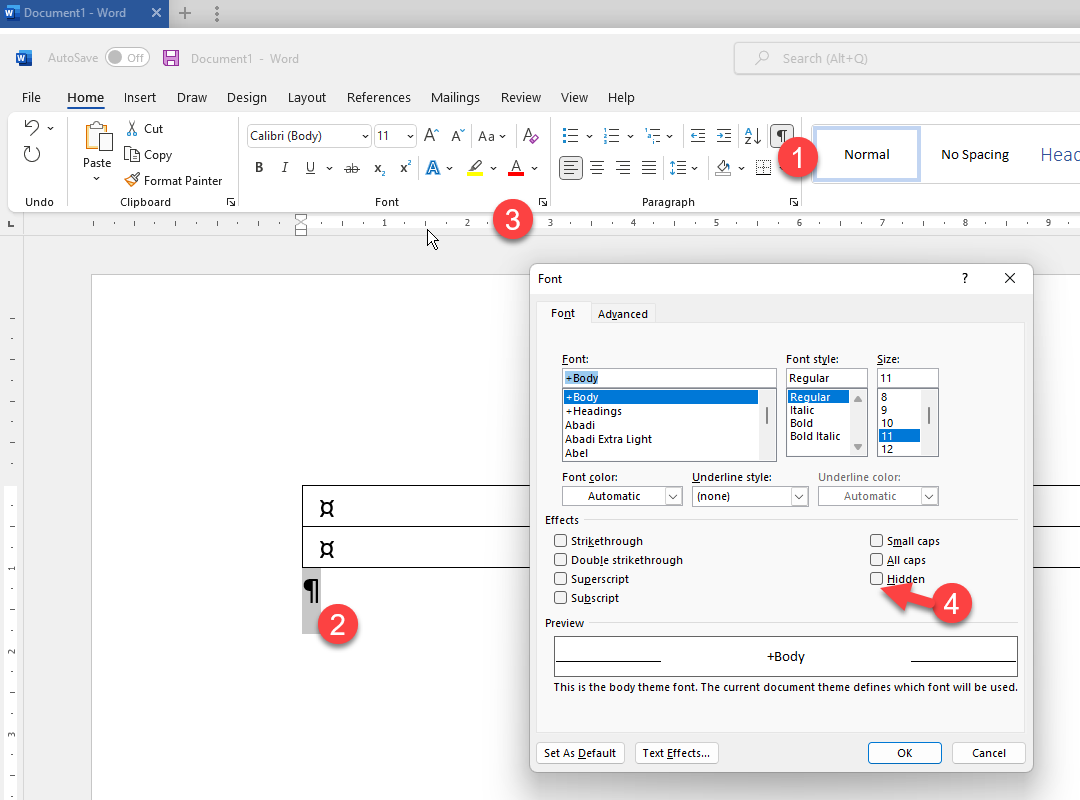
Word always supplies an empty paragraph mark underneath a table that creates space which is undesirable on small labels. It apparently needs at least one paragraph mark (shown below with paragraph marks shown in Home > Paragraph ribbon).

Per screenshot below, the best solution is to:
1. Show paragraph marks
2. Select the paragraph mark
3. Click small bottom right icon in Font
4. Tick hidden and OK
Even if the document spans 2 pages because of it, the print preview will suppress the 2nd page in this instance.
Another approach is to make that paragraph font as small as possible, e.g. 1pt to get as close to the bottom as possible.
13. Image/logo dimensions
The example below shows the Company Logo fitted into a 60mm (wide) x 20mm (high) box. By viewing the rulers in Word (View on ribbon bar, tick on Ruler), which are generally in centimeters, you can judge how the logo will be fit into the box (60mm x 20mm = 6cm x 2cm).
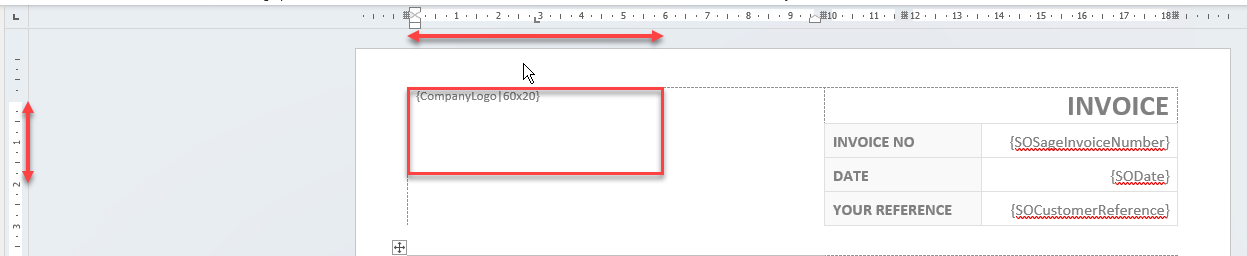
Note the logo will be scaled to fit that box and can't be larger than it, so you approximately want to follow the proportions of the logo or the width/height will be tucked in to fit its original proportions, which will may cause it to end up smaller than expected.
14. Ensuring barcode doesn't run off page
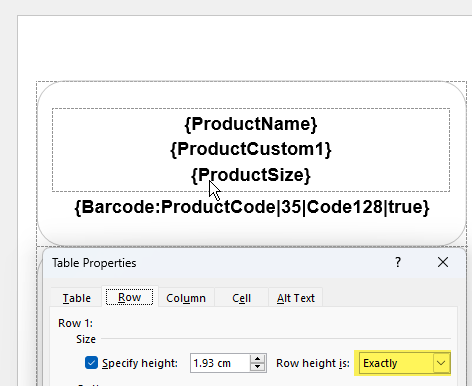
Sometimes there is a risk of barcodes running off the page when field content before them is long.
A way of preventing this from happening is to place a one cell table with only the text placeholders inside (and barcode placeholder outside), and in Table Properties (right click) > Row, ensure Row height is set to Exactly to prevent table growth. The text may overspill inside the table and cut off, but it will never force the table row to grow beyond its size and so the barcode will always print correctly at the expense of text getting cut.
15. Format spill
This is an oddity that can happen when table rows are replicated and rows may get unusual borders lines between or formatting like bold for example when not present. Select the text in the area in question and click Clear All Formatting:
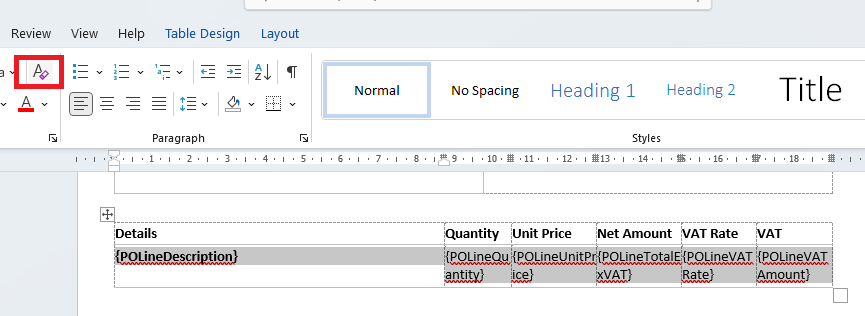
Above {POLineDescription} has reverted to bold (the problem line). This is because the table cell is introducing styles via the Table Design ribbon tab. That introduced style has perhaps overridden by setting the above to non-bold, but it will appear back when the table row is replicated.
The solution is to go to Table Design and untick all of these, then set styles (bold etc.) manually.

Note if you manually add table lines, this will suffer the same problem (the style dictating something different).
16. Keeping together a section on page
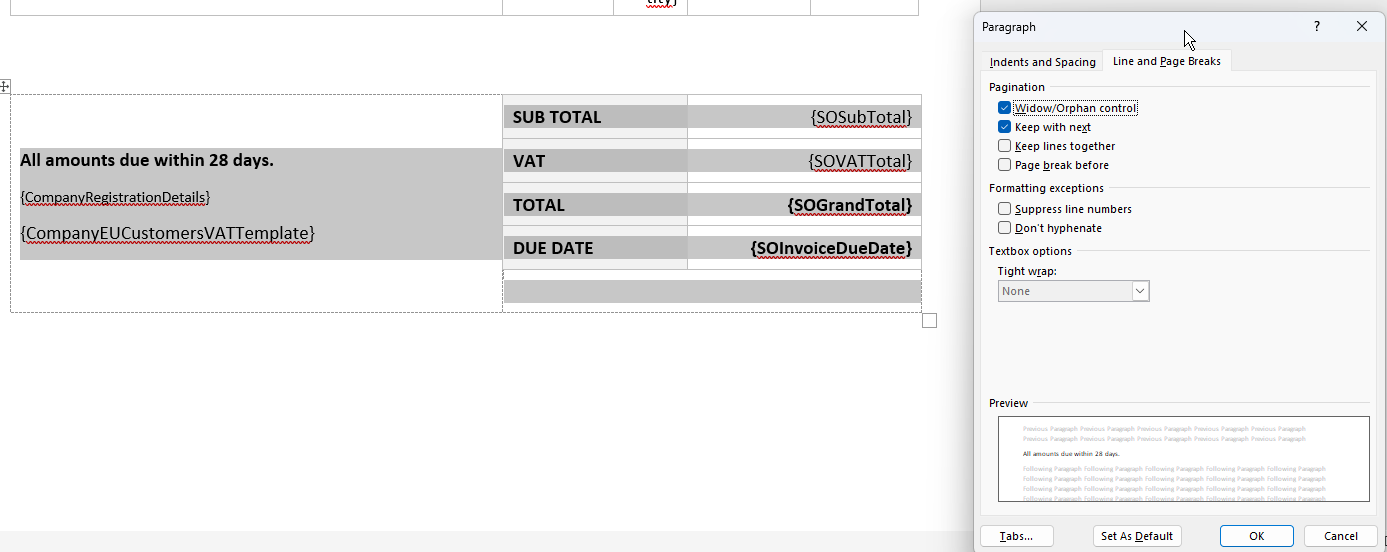
A scenario below when you want to keep all the sections contents on one page and never have them split in the middle between pages (keep the totals together).
Make a selection for the area in question and on the Home ribbon bar > Paragraph click small icon bottom right. Switch to Lines and Page Breaks and tick per below. There may be other desirable options for other similar scenarios.
17. Windowed envelope dimensions
If you are trying to design a template to meet a windowed envelope, then switch on rulers and:
- 55mm to 60mm from top is where window starts.
- 92mm from top is window end.
- 22.5mm from left.
- 110mm from left is window end.
Margins of 10mm (1cm) are possible and are a good thing to apply (smaller than Narrow setting).